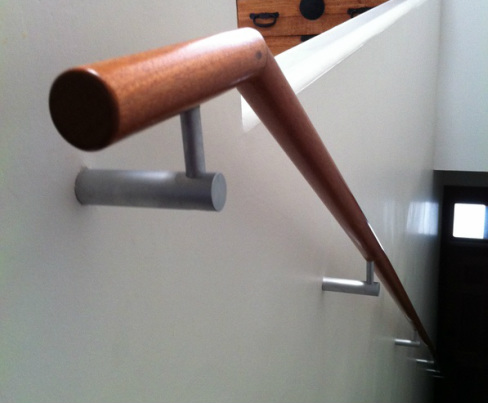
In my last blog on handrails, I showed the Pine Street handrail being changed with new brackets and a wood rail. It's done now I now I happily feel the handrail daily as I go up and down the stairs.
0 Comments
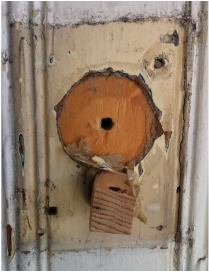
Respect and Preservation3/13/2012 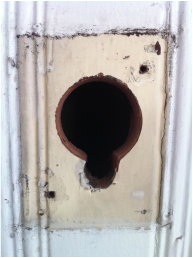 Last January I showed this photo of beaded redwood panel in the entry porch of our Victorian in San Francisco. We installed new intercoms and the old doorbell was removed leaving an unslightly hole. I was afraid we would need to resort to a cover plate or a repair of the hole would always be visible. Our contractor, Kenji said he would repair the hole so I anxiously awaited the outcome as I feared something unslightly.
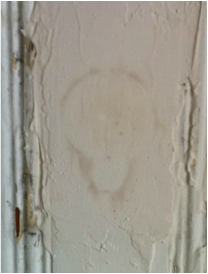
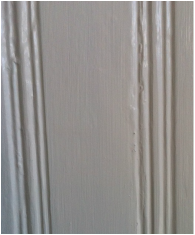 Finally he painted the whole thing to match the rest of panel. If you didn't see it before, you would never know there was a patch.
Our contractor, Kenji Hasegawa did a fantastic job! See more of his work on his website here. Pine Street Remodel - One more thing!2/27/2012 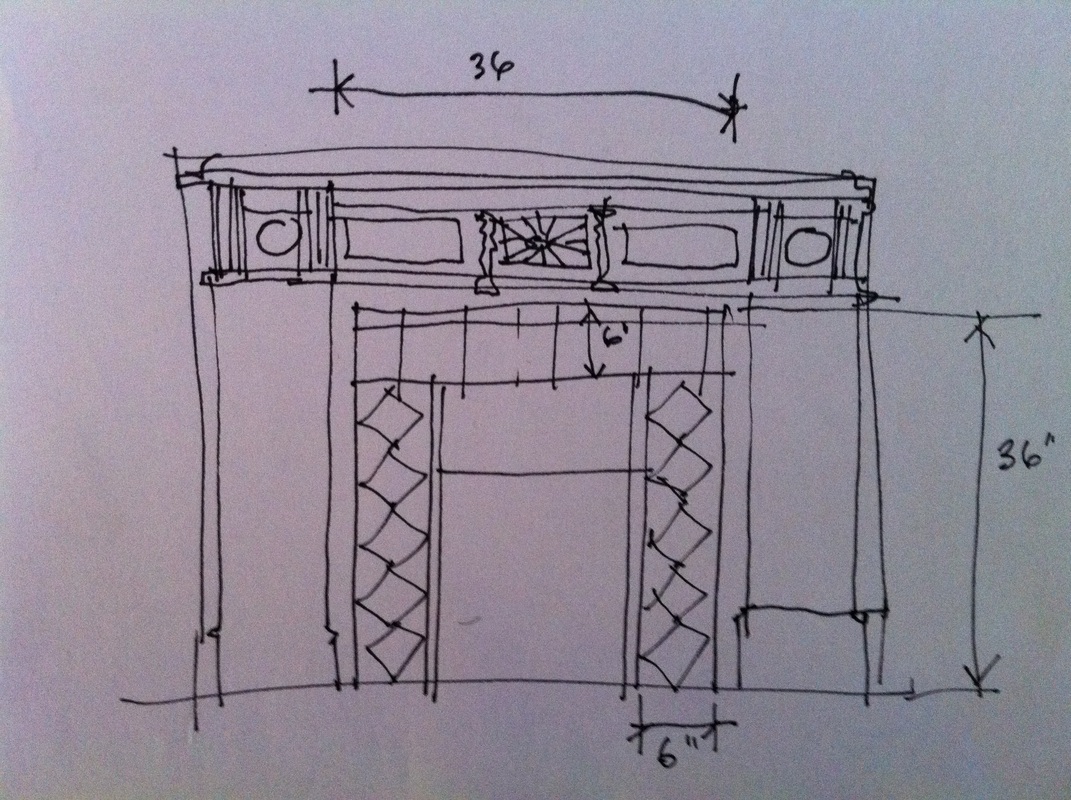
Pine Street Fireplace
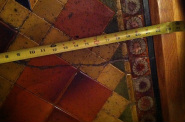 Pine Street Hearth There one more thing that needs attention in our remodel. The wood fireplace is one of the few remaining original items in the building. The wood mantle itself is in great condition but the hearth has beautiful old tiles that show its age (photo left).
I actually find this aged look beautiful, but unfortunately a noticeable area has broken and missing pieces. After spending some time searching, finding replacement tiles in the right size and colors seems impossible. We're trying to find a replacement that will be similar in appearance. Pine Street Bath Update - December 15, 201112/16/2011 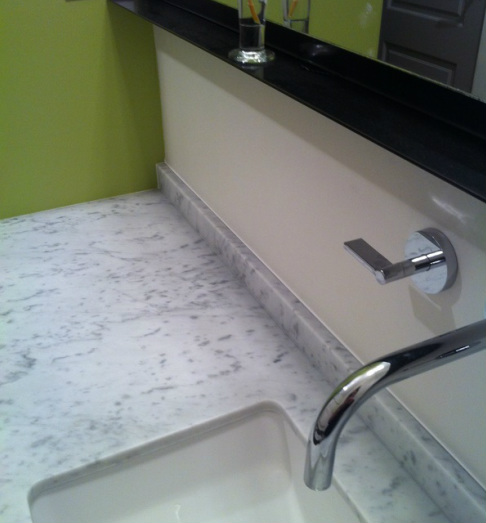 Marble Countertop With the installation of the marble countertop, the bath remodel is almost done. All that's left is installation of a new mirror and some painting. Click here to see how Fox Marble made a template to fit the counter-top flush against the walls.
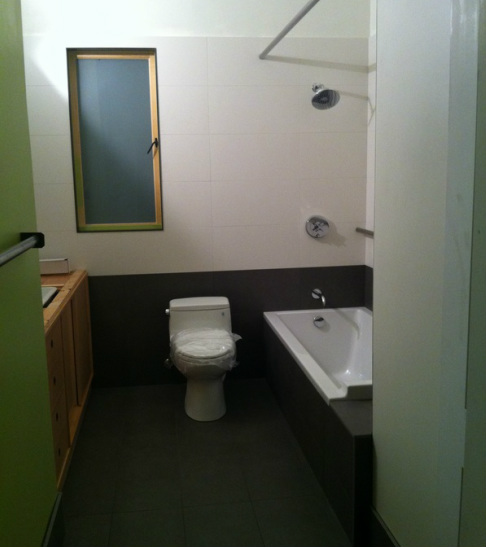
Pine Street Bath November 28, 2011
The bath is nearing completion. The ceramic tile work is done and the tile installer did a great job. Plumbing fixtures have been installed. The cabinet base at the left is re-used, but it will be getting a new counter-top and mirror. New doors, new light fixture, and painting still needs to be done as well. Enough is done to get a sense of how the completed project will look. So far so good.
The white ceramic tiles have been installed.
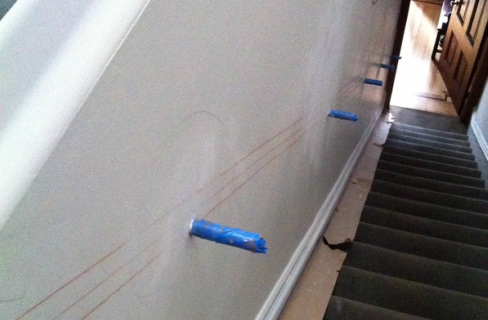
In my blog series of In the Realm of the Senses I picked a handrail bracket for my Pine Street remodel last August. Take a look at the selected bracket here. Well about three months later, they are being installed. What you don't see in this photo is the painstaking work that had to be done behind the sheetrock.
Like many 100+ year old buildings, the walls were uneven with various layers of plaster and sheetrock. Because of the precise alignment needed for the brackets, the wall was opened and solid wood (blocking) was installed between the wall joists to form a solid straight surface and the finish wall was evened out. Our contracto Kenji and I talked about the merits of installing the bracket connection perpendicular to the wood handrail or vertical. Installing the brackets vertical means the wood handrail needs to be drilled at an angle -- a more difficult procedure. We picked vertical. This link shows a cool video of how the bracket is installed. Pine Street Remodel - 11 OCT 2011 Update10/11/2011 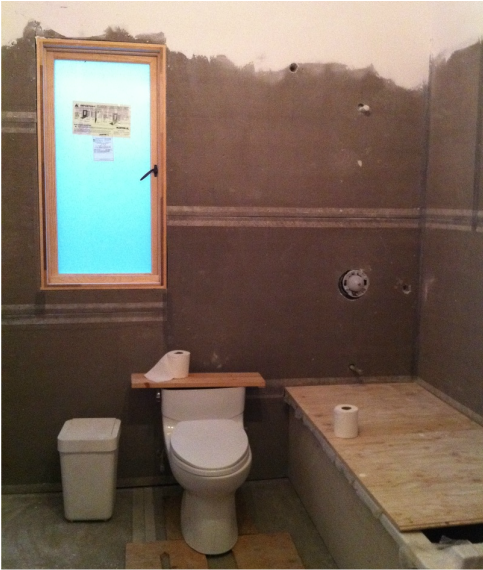
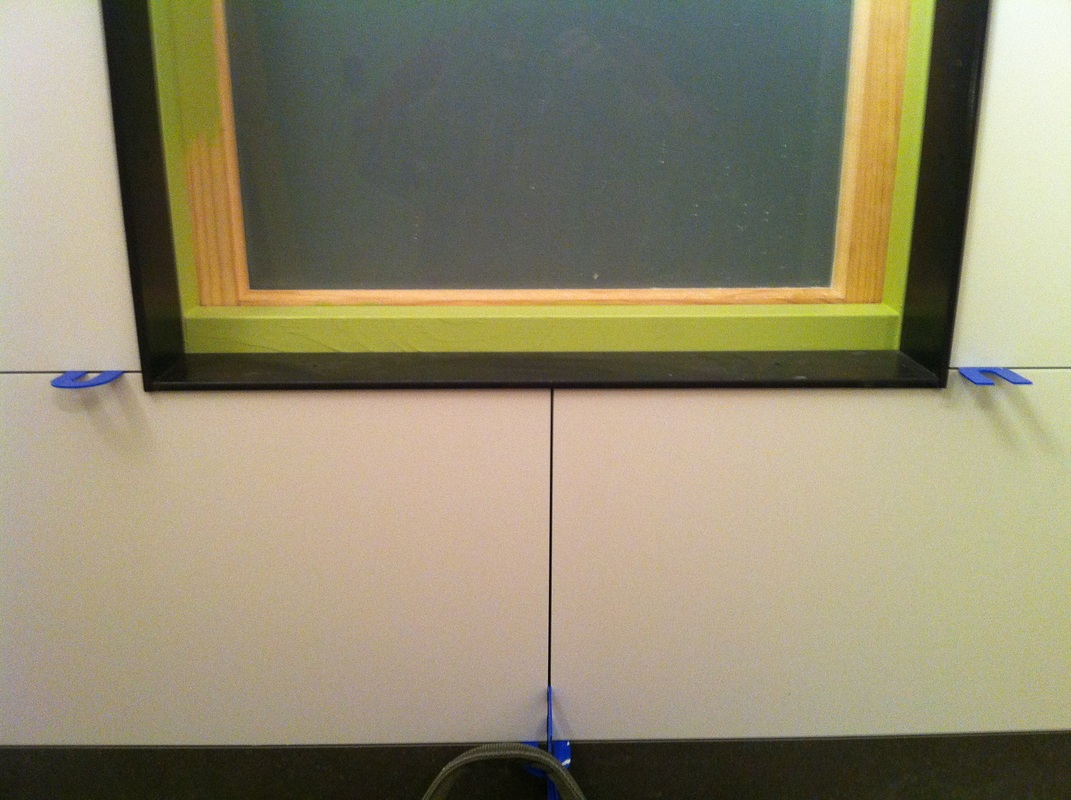
Pine Street Bath 06 October 2011
Work is moving slowly. A late decision to replace the window delayed work as we ordered and waited for it. The tile installer is busy for another two weeks and our contractor hurt his back! The new tub has been installed and the backing board for the tile is in place. Right now we're deciding on paint colors and carpet. Stay tuned.
Colors, Colors, Colors10/7/2011 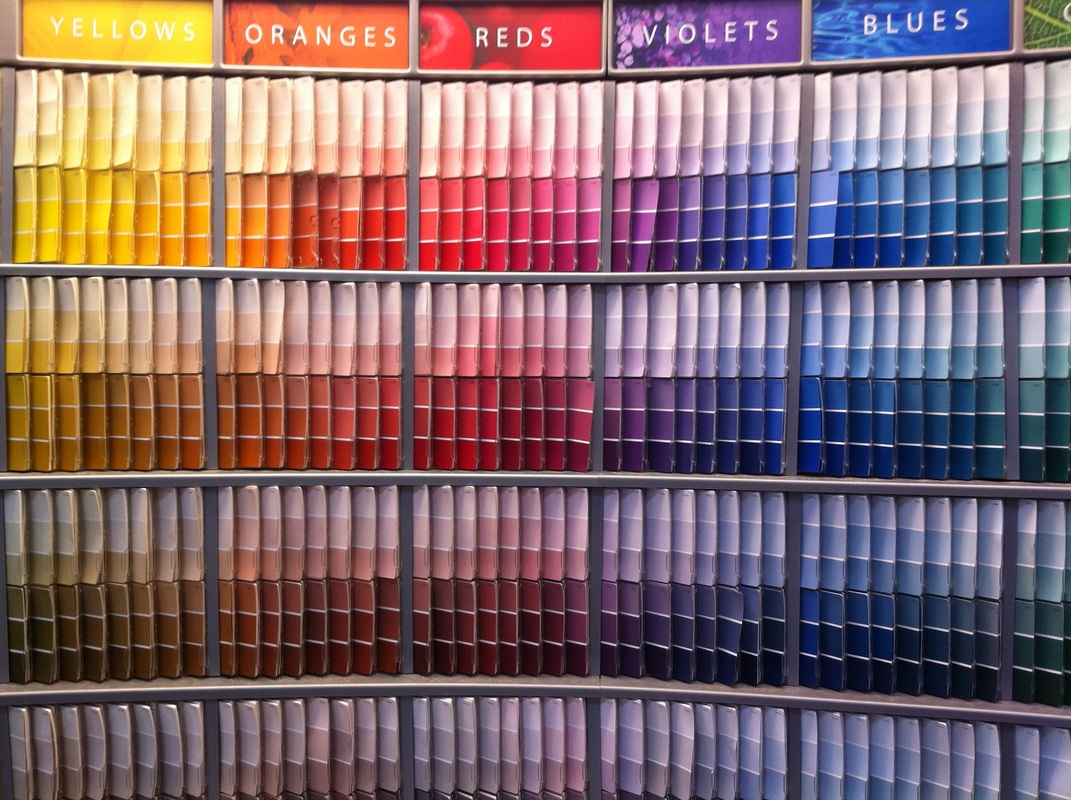 We're picking paint colors for Pine Street now. Lots of choices aren't there?
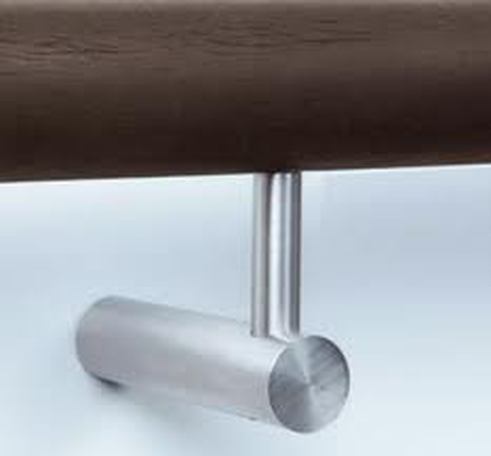 The selected Pine Street Handrail Bracket Halliday & Baillie has solved my problem. I've been looking for a simple elegant handrail that attached seamlessly (at least visually) into the wall. It also needed to attach to the handrail without obstructing the flow of the hand as it glides along the top and inside surface of the handrail. So I've found the solution for the Pine Street handrail. I should get them in about a week.
AuthorCatagories
All
Archives
October 2020
Blogs I follow
|
 RSS Feed
